1. Create a Box
Create a keep-alive box with default settings. See the quickstart if you haven’t created one before.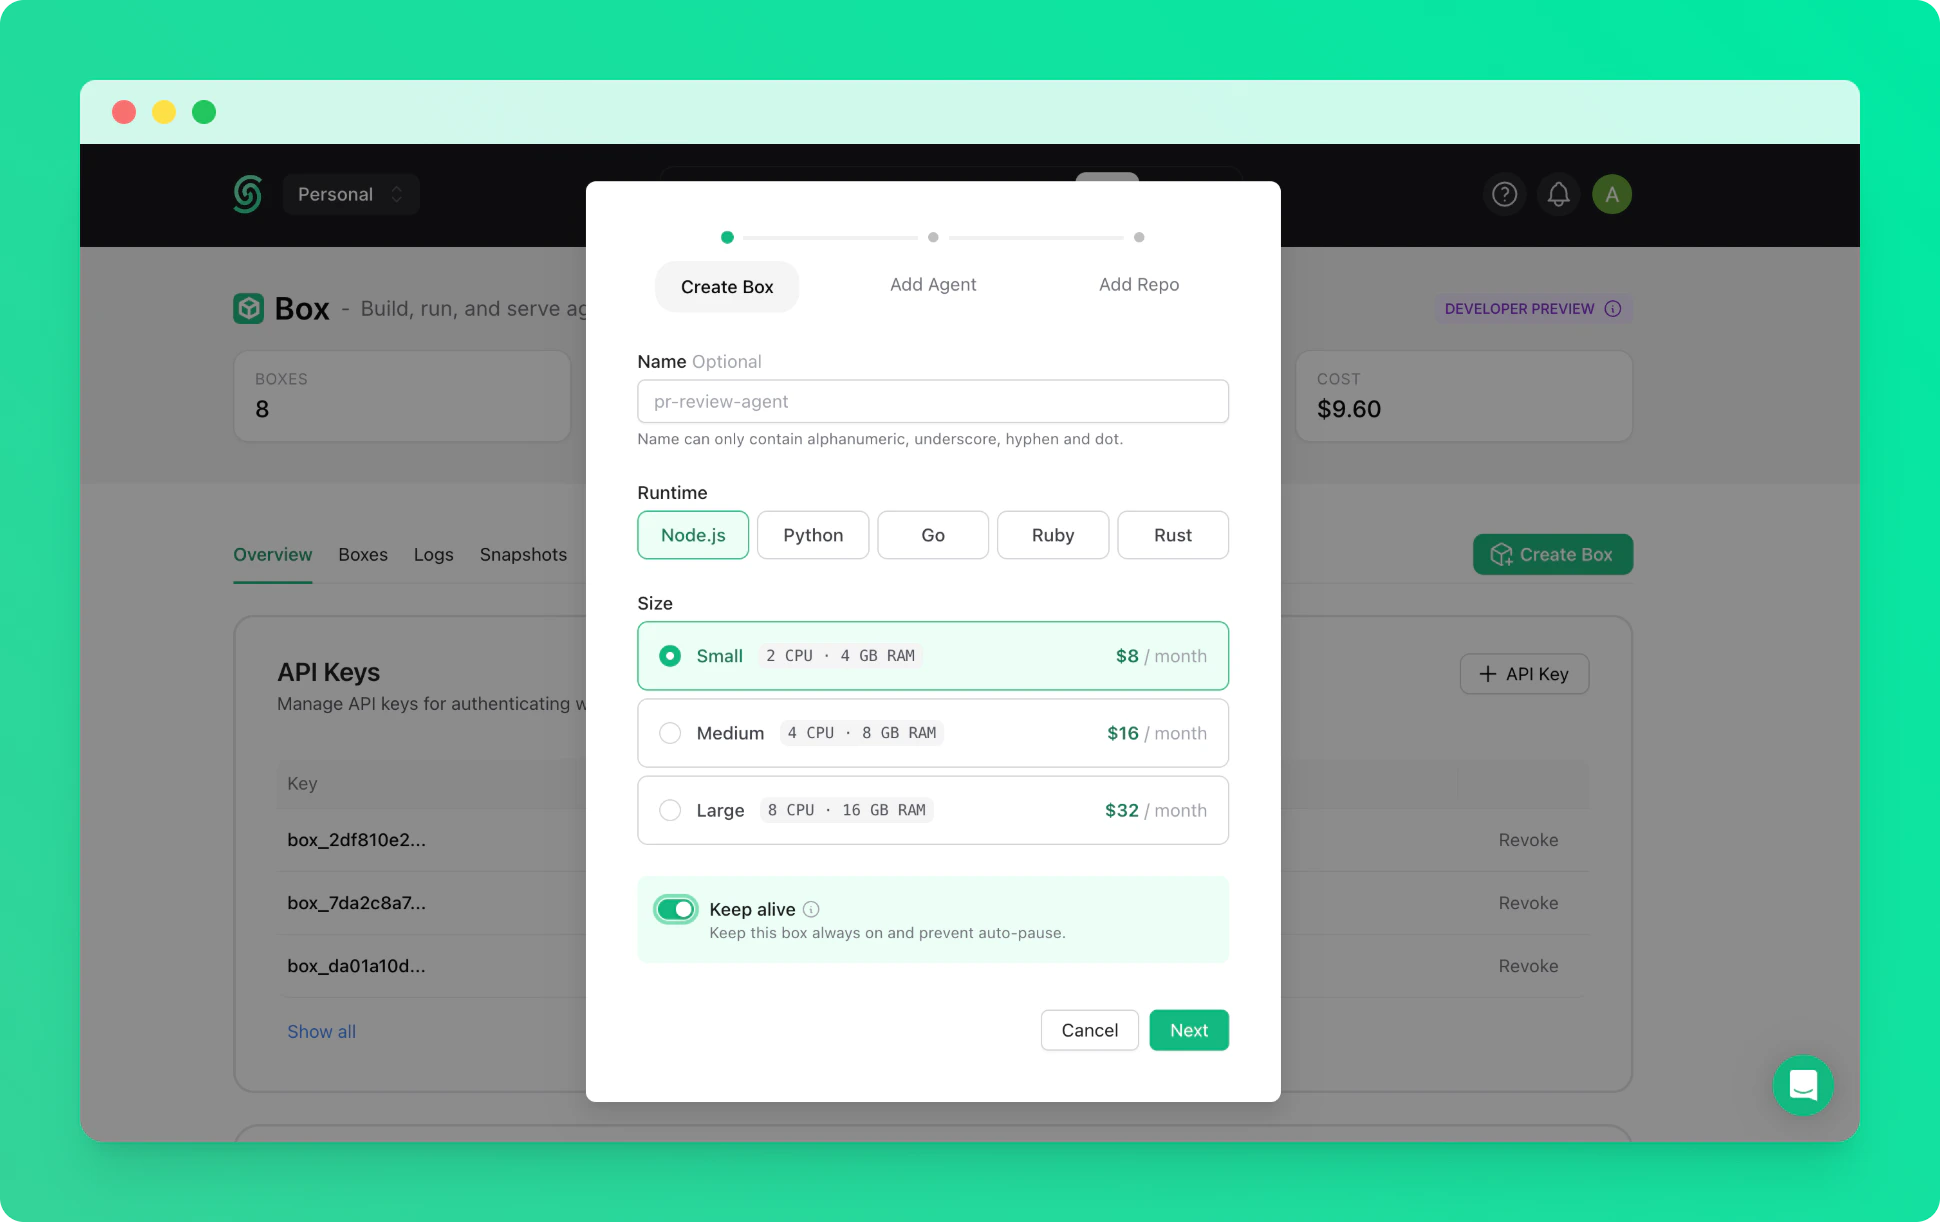
2. Connect via SSH
Once the box is running, connect to it via SSH from your terminal. The-L flag forwards the OpenClaw dashboard port to your local machine. Use your Box API key as the password when prompted.
box-id is the name of your box (e.g. right-flamingo-14486).
3. Install OpenClaw
Install the OpenClaw CLI globally inside the box.4. Run Onboarding
Start the interactive onboarding wizard. The CLI will guide you through provider selection, authentication, and gateway configuration.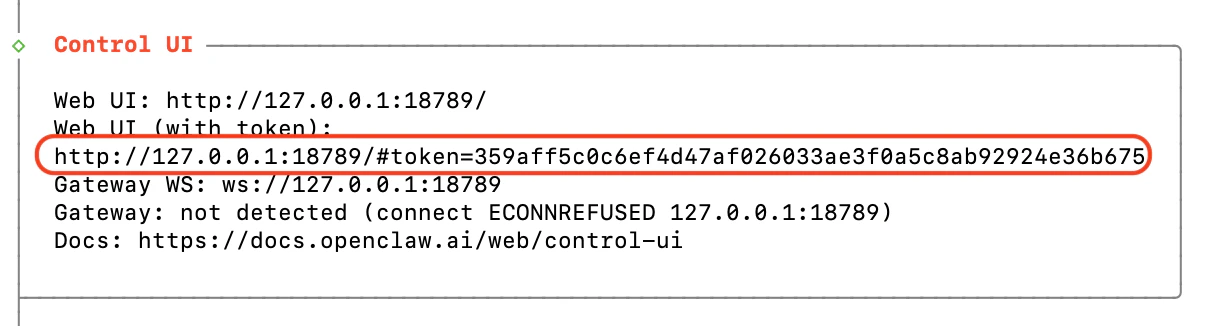
5. Start the Gateway
Configure the gateway to bind on the LAN interface, then start it.6. Open the Dashboard
Navigate to the dashboard URL you copied in step 4. Because the SSH tunnel is active, the dashboard is accessible on your local machine and will look like: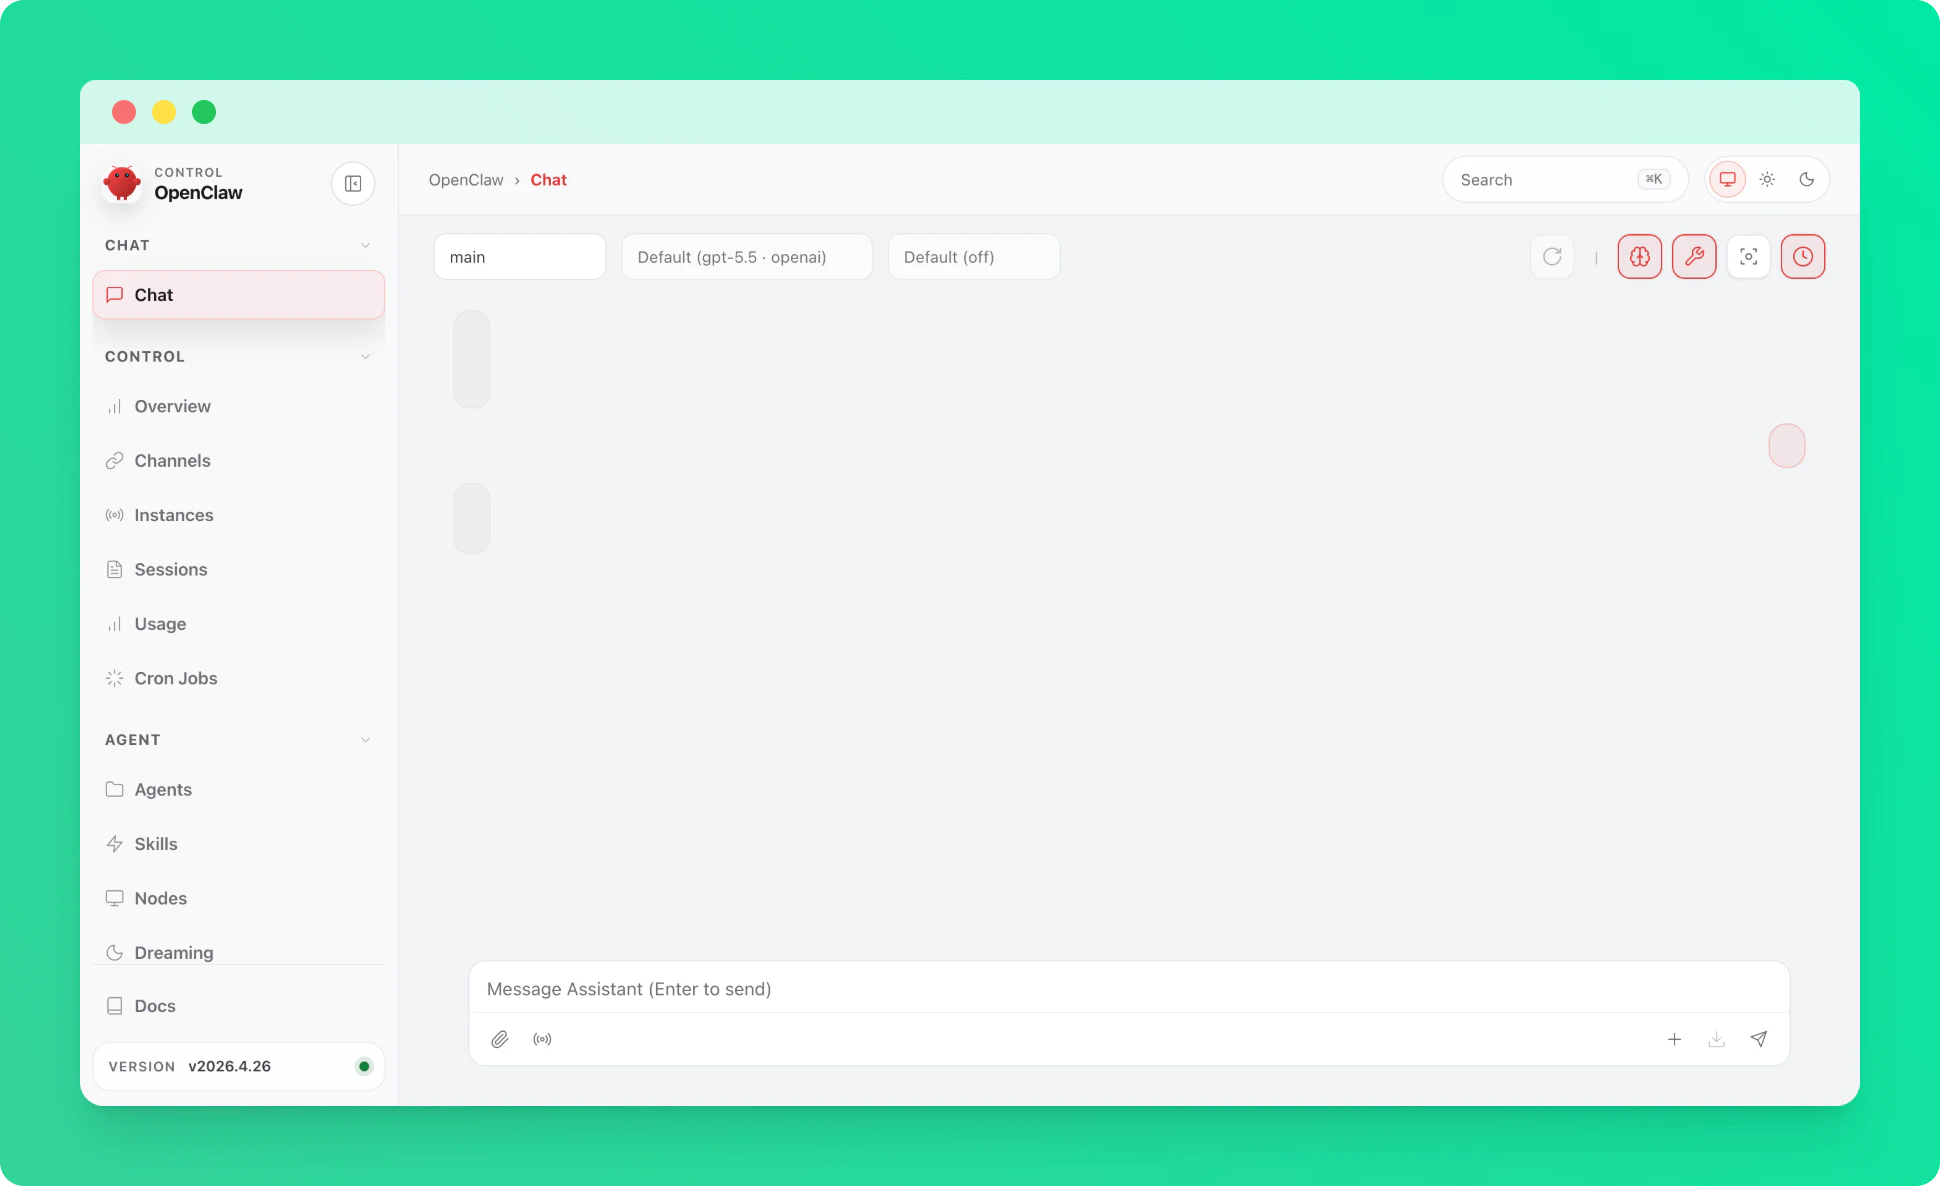
7. Set Init Script for Auto-Restart
To ensure the gateway restarts automatically if the box crashes, set the startup command as an init script from the Upstash Console.
Troubleshooting
If your SSH session freezes randomly during onboarding, retry the connection with a clean config and no shared control socket:~/.ssh/config entry (e.g. a stale ControlMaster socket or conflicting options) being applied to the connection, or a NAT/firewall on your network dropping idle TCP connections. The flags above bypass your local SSH config and keep the connection active with periodic keepalives.